🚚 Free Worldwide Shipping on All Orders!Shop Now
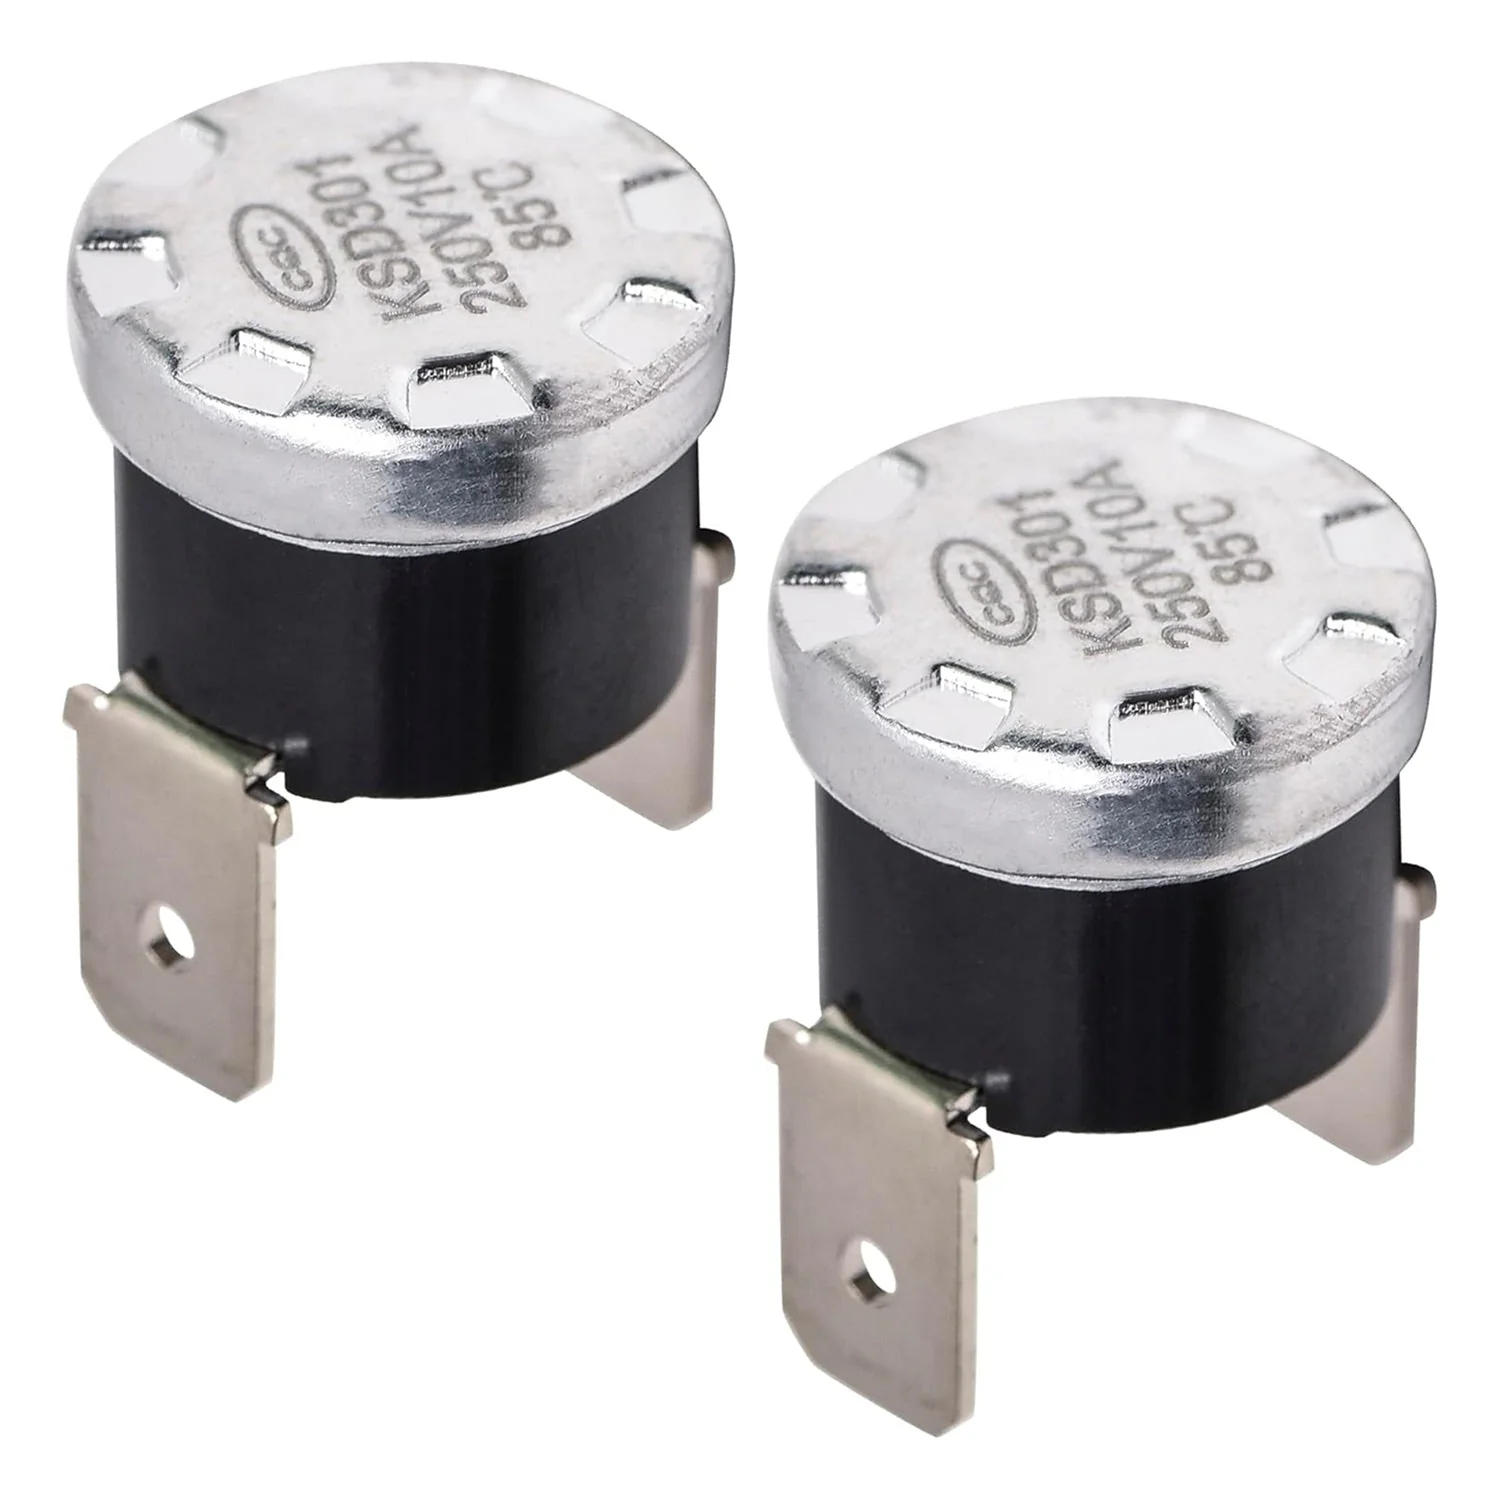



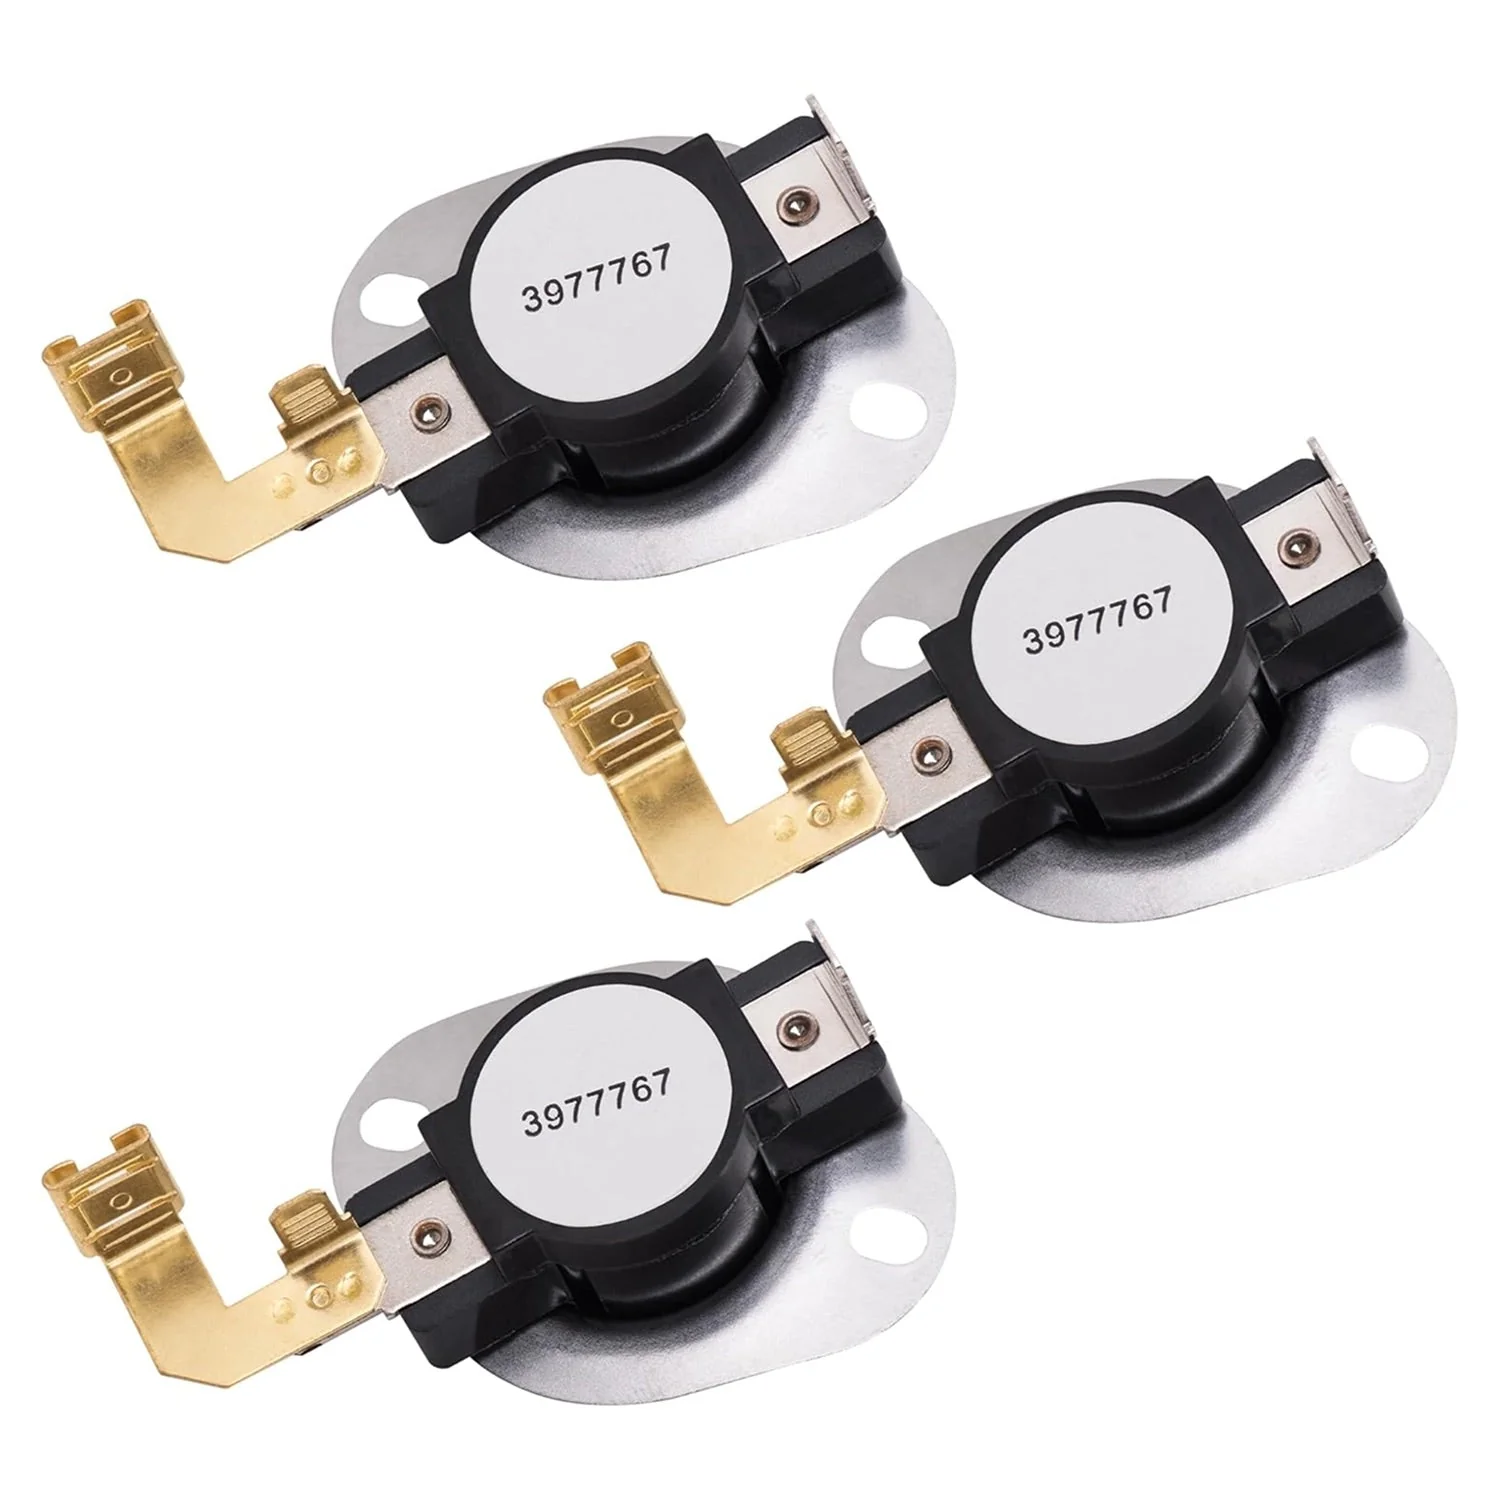
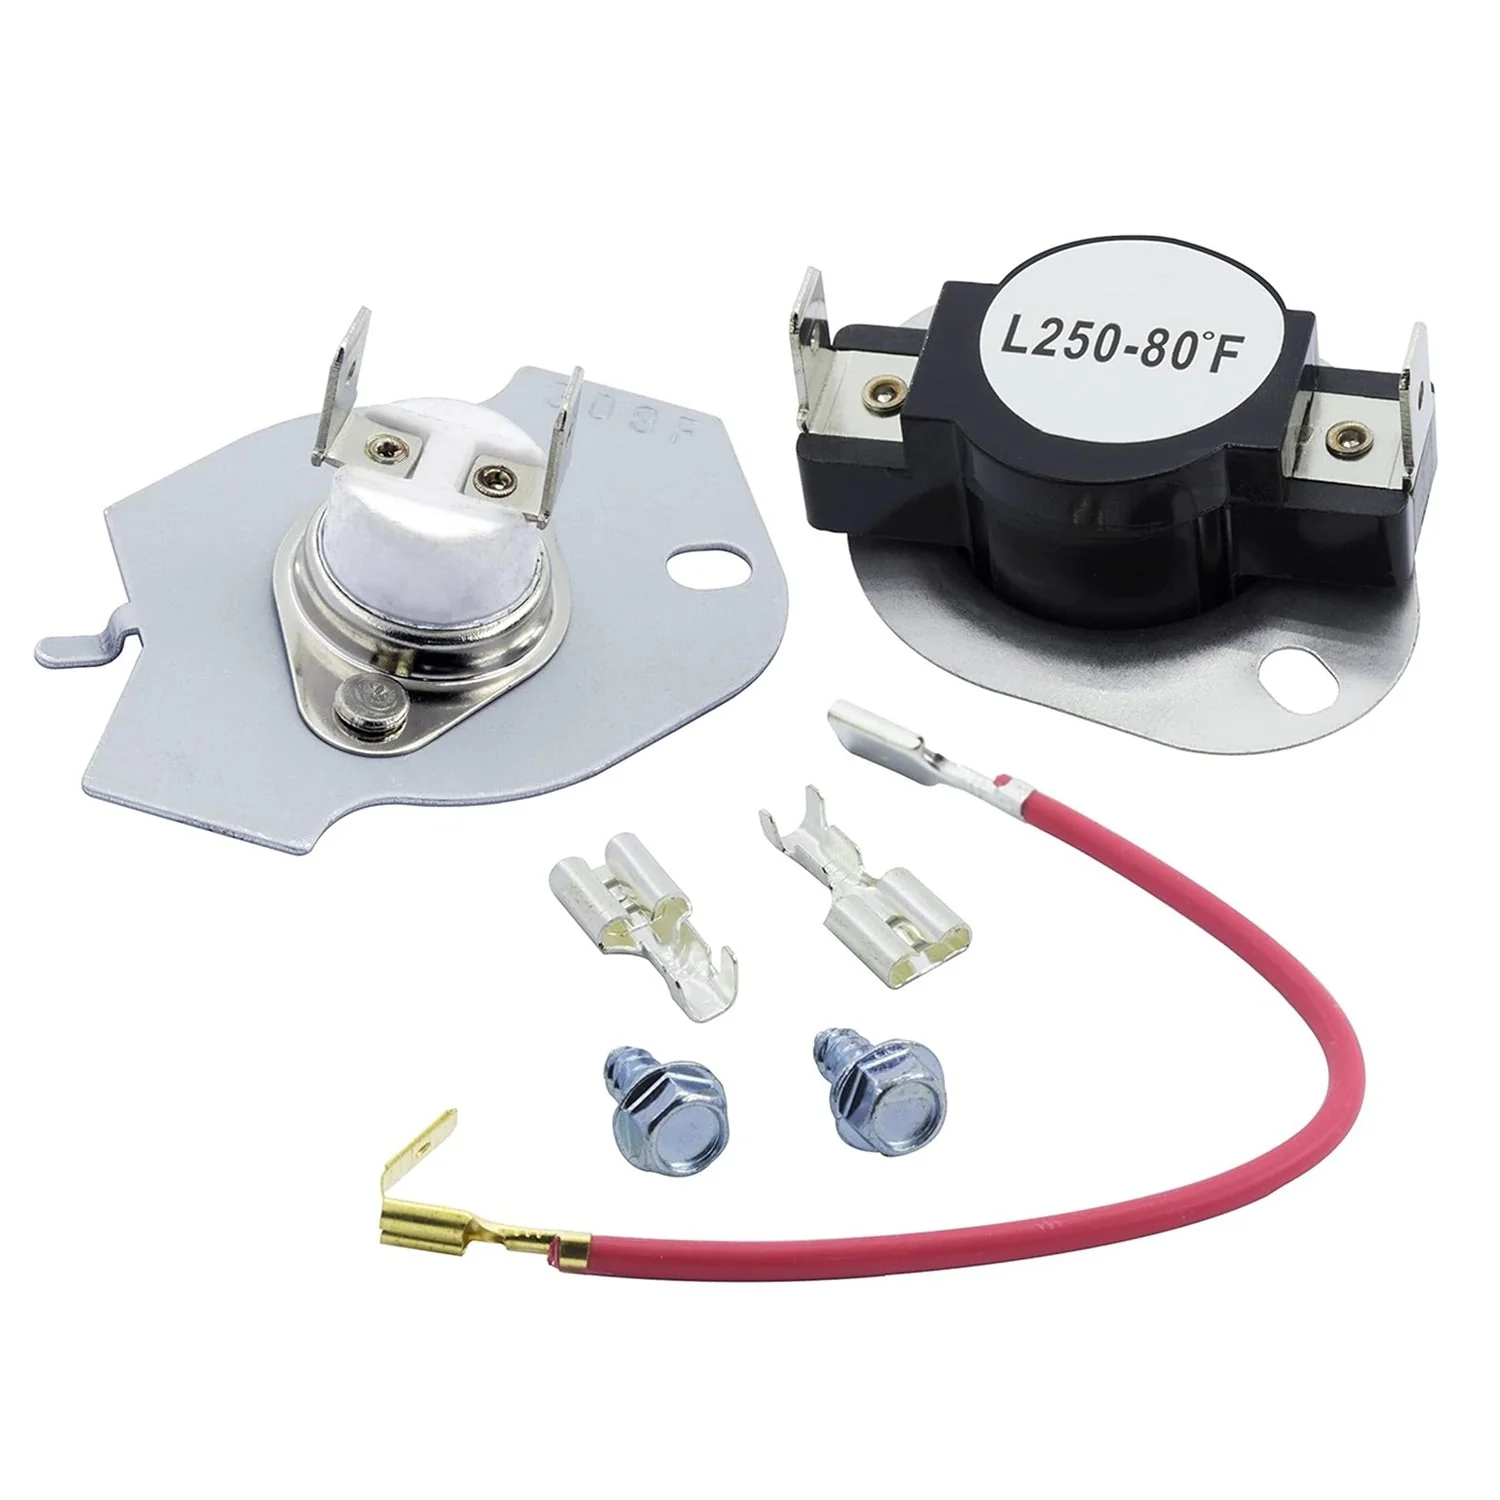
661566 Dishwasher High Limit Thermostat for Whirlpool Kenmore KitchenAid Amana Maytag Dishwashers - 2 Pack
661566 Dishwasher High Limit Thermostat
Key Features
- Monitors dishwasher water temperature
- Functions as a safety mechanism to prevent overheating
- Disconnects power to the heating element if temperatures exceed a set limit
Replaces / Cross-Reference Part Numbers
- WP661566
- AP6010246
- PS11743423
- 3369777
- 3370783
- 3371618
- 4171694
- W10339474
- WP661566VP
- EAP11743423
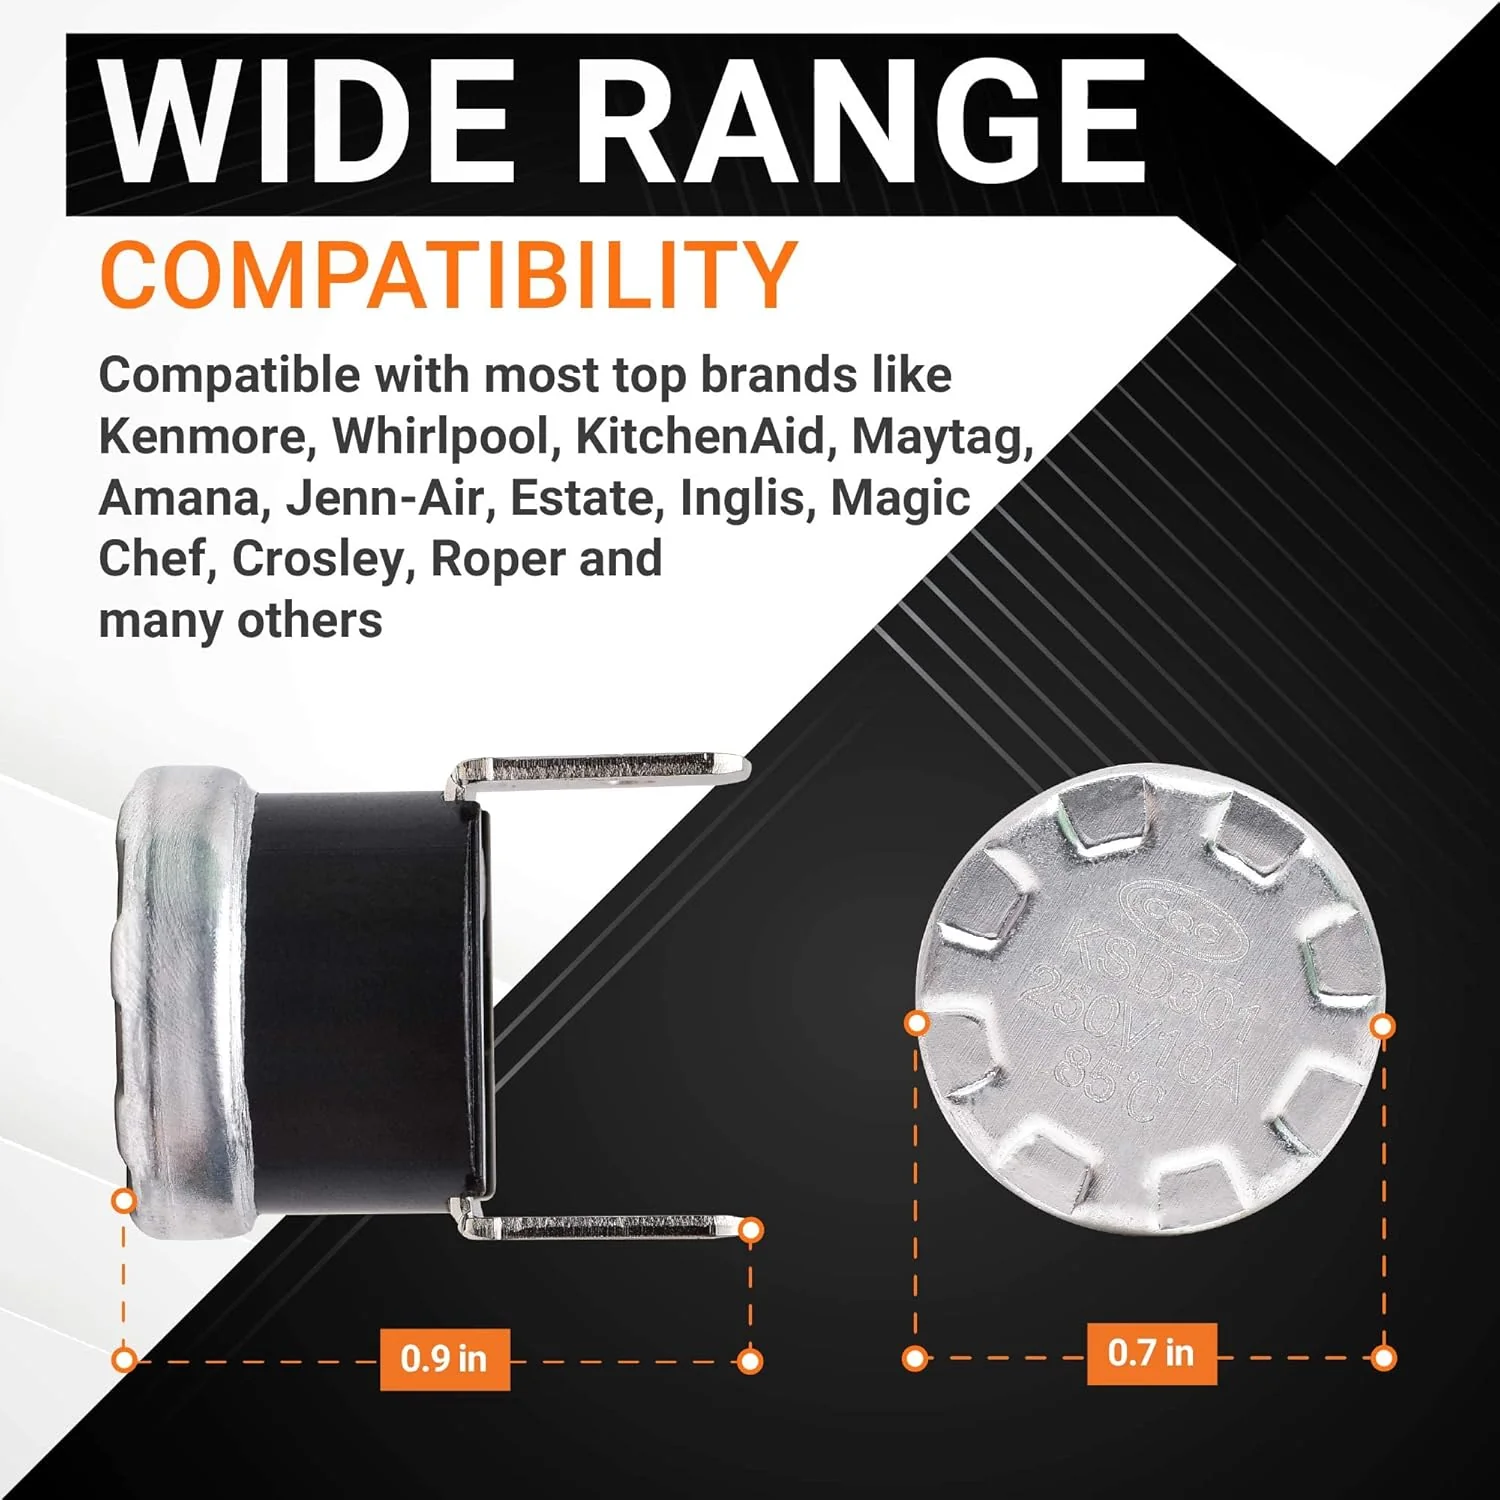
Compatibility & Fitment
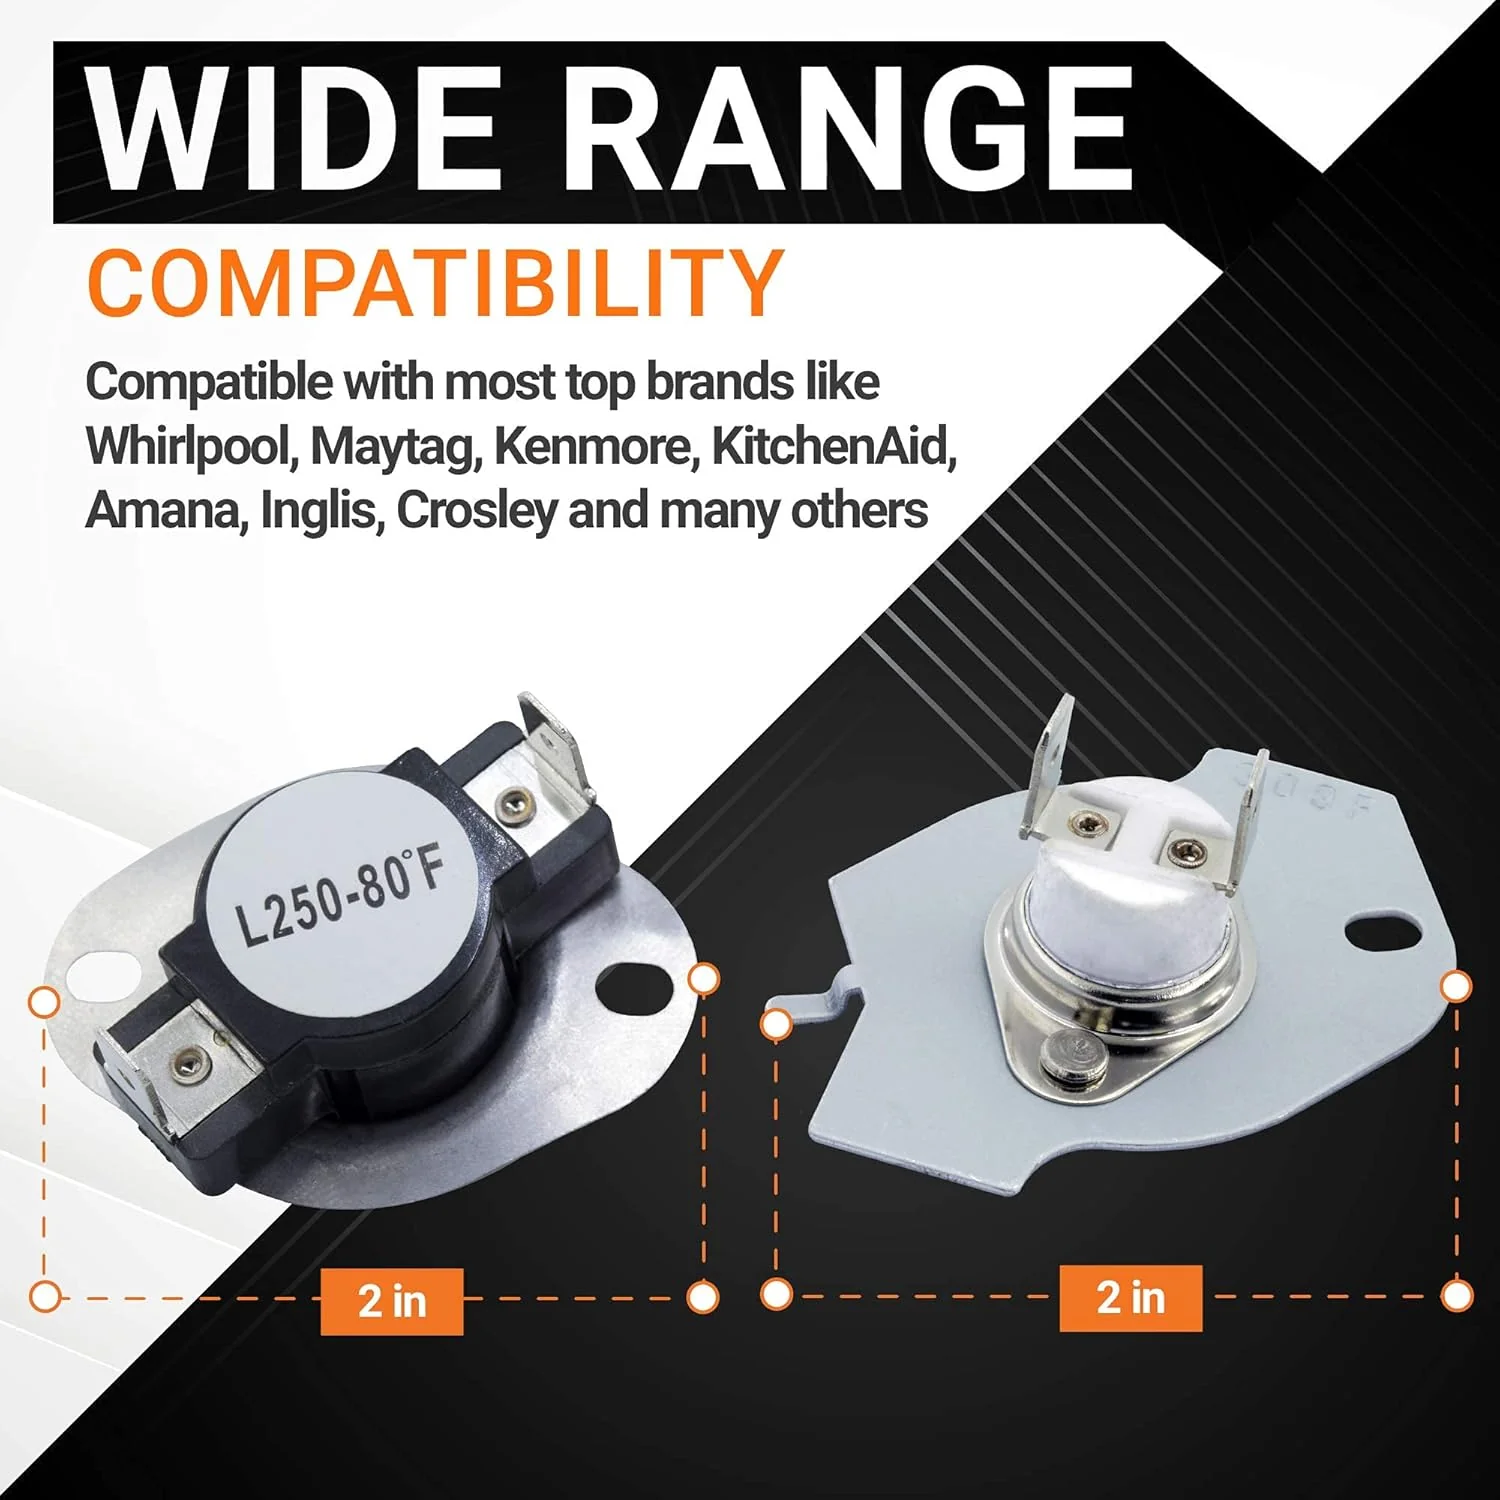
- Direct replacement for various models from brands including:
- Amana
- Crosley
- Estate
- Kenmore
- KitchenAid
- Maytag
- Whirlpool
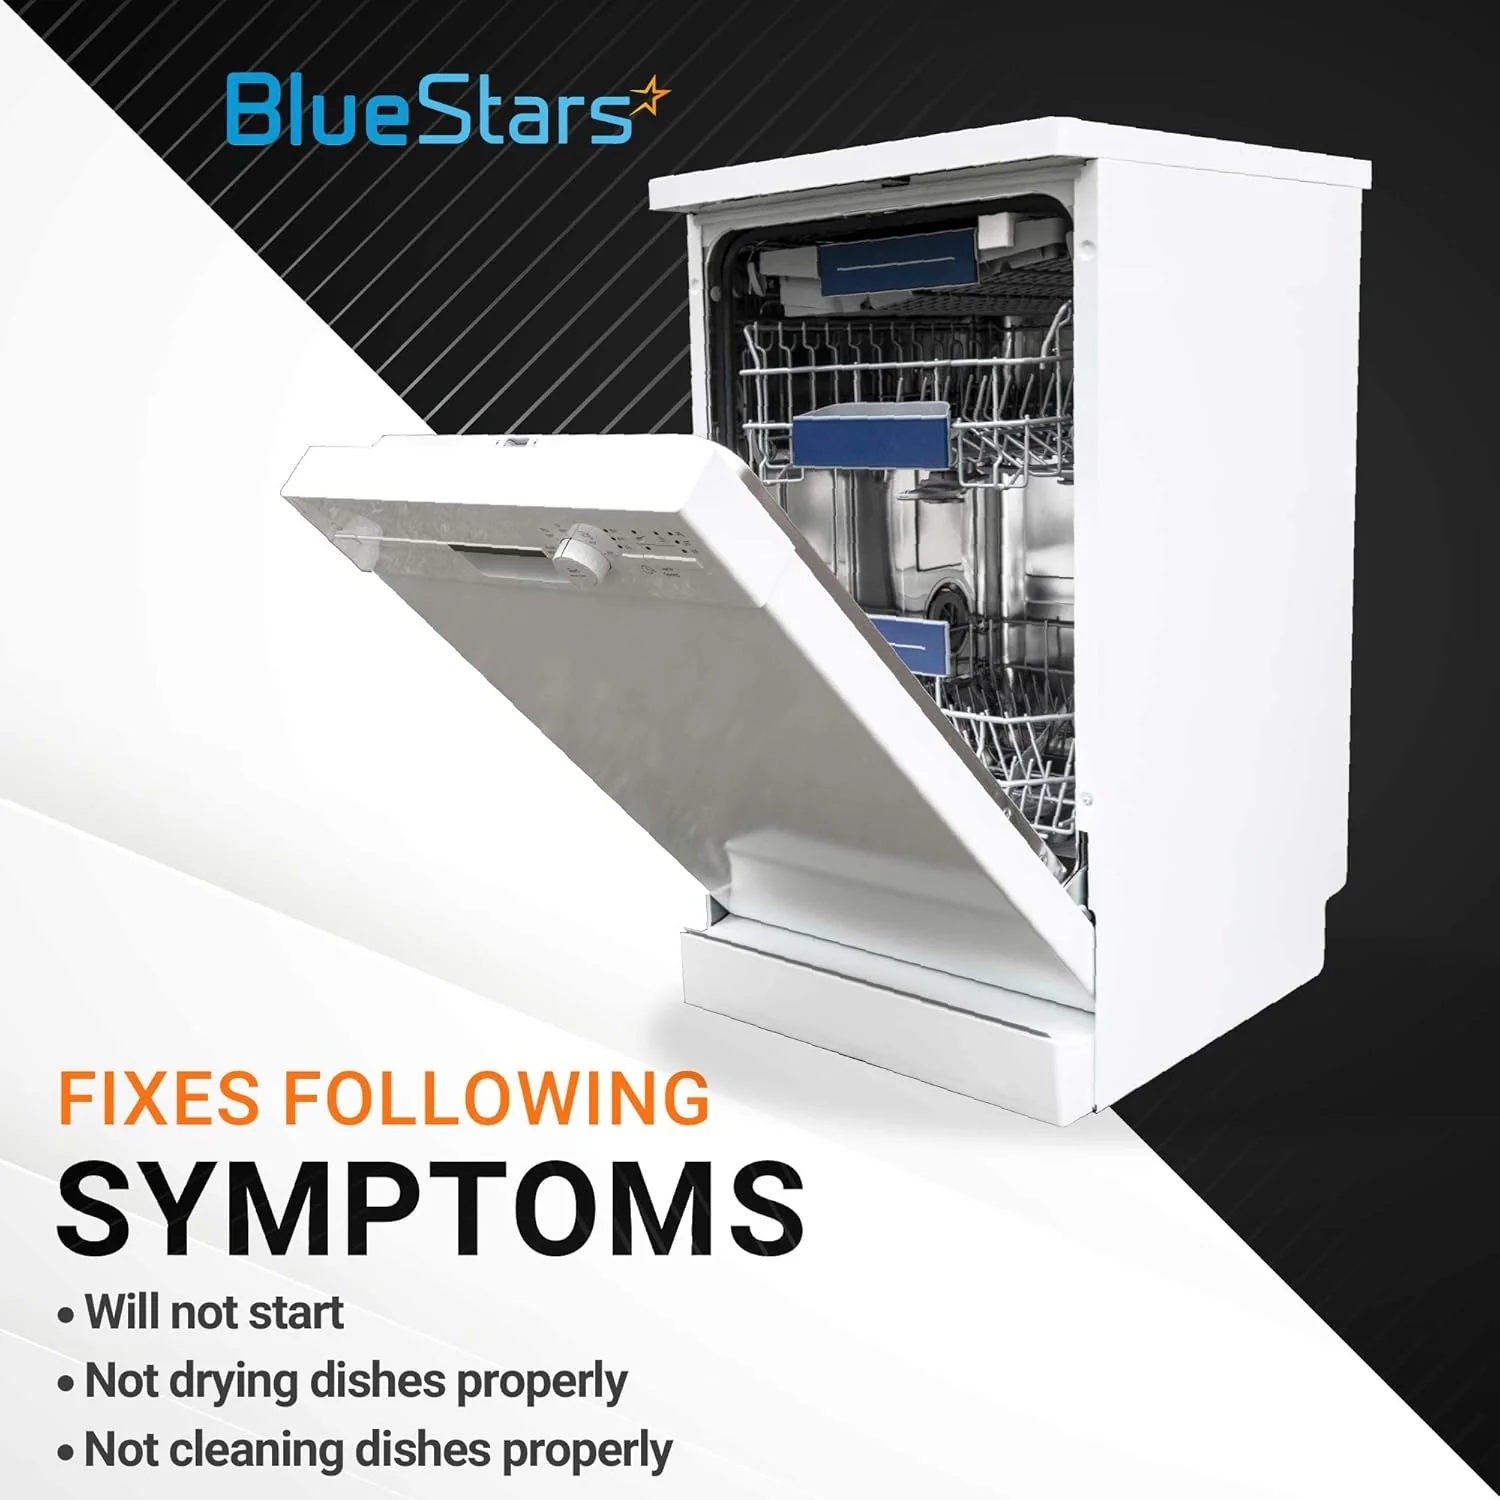
When to Replace
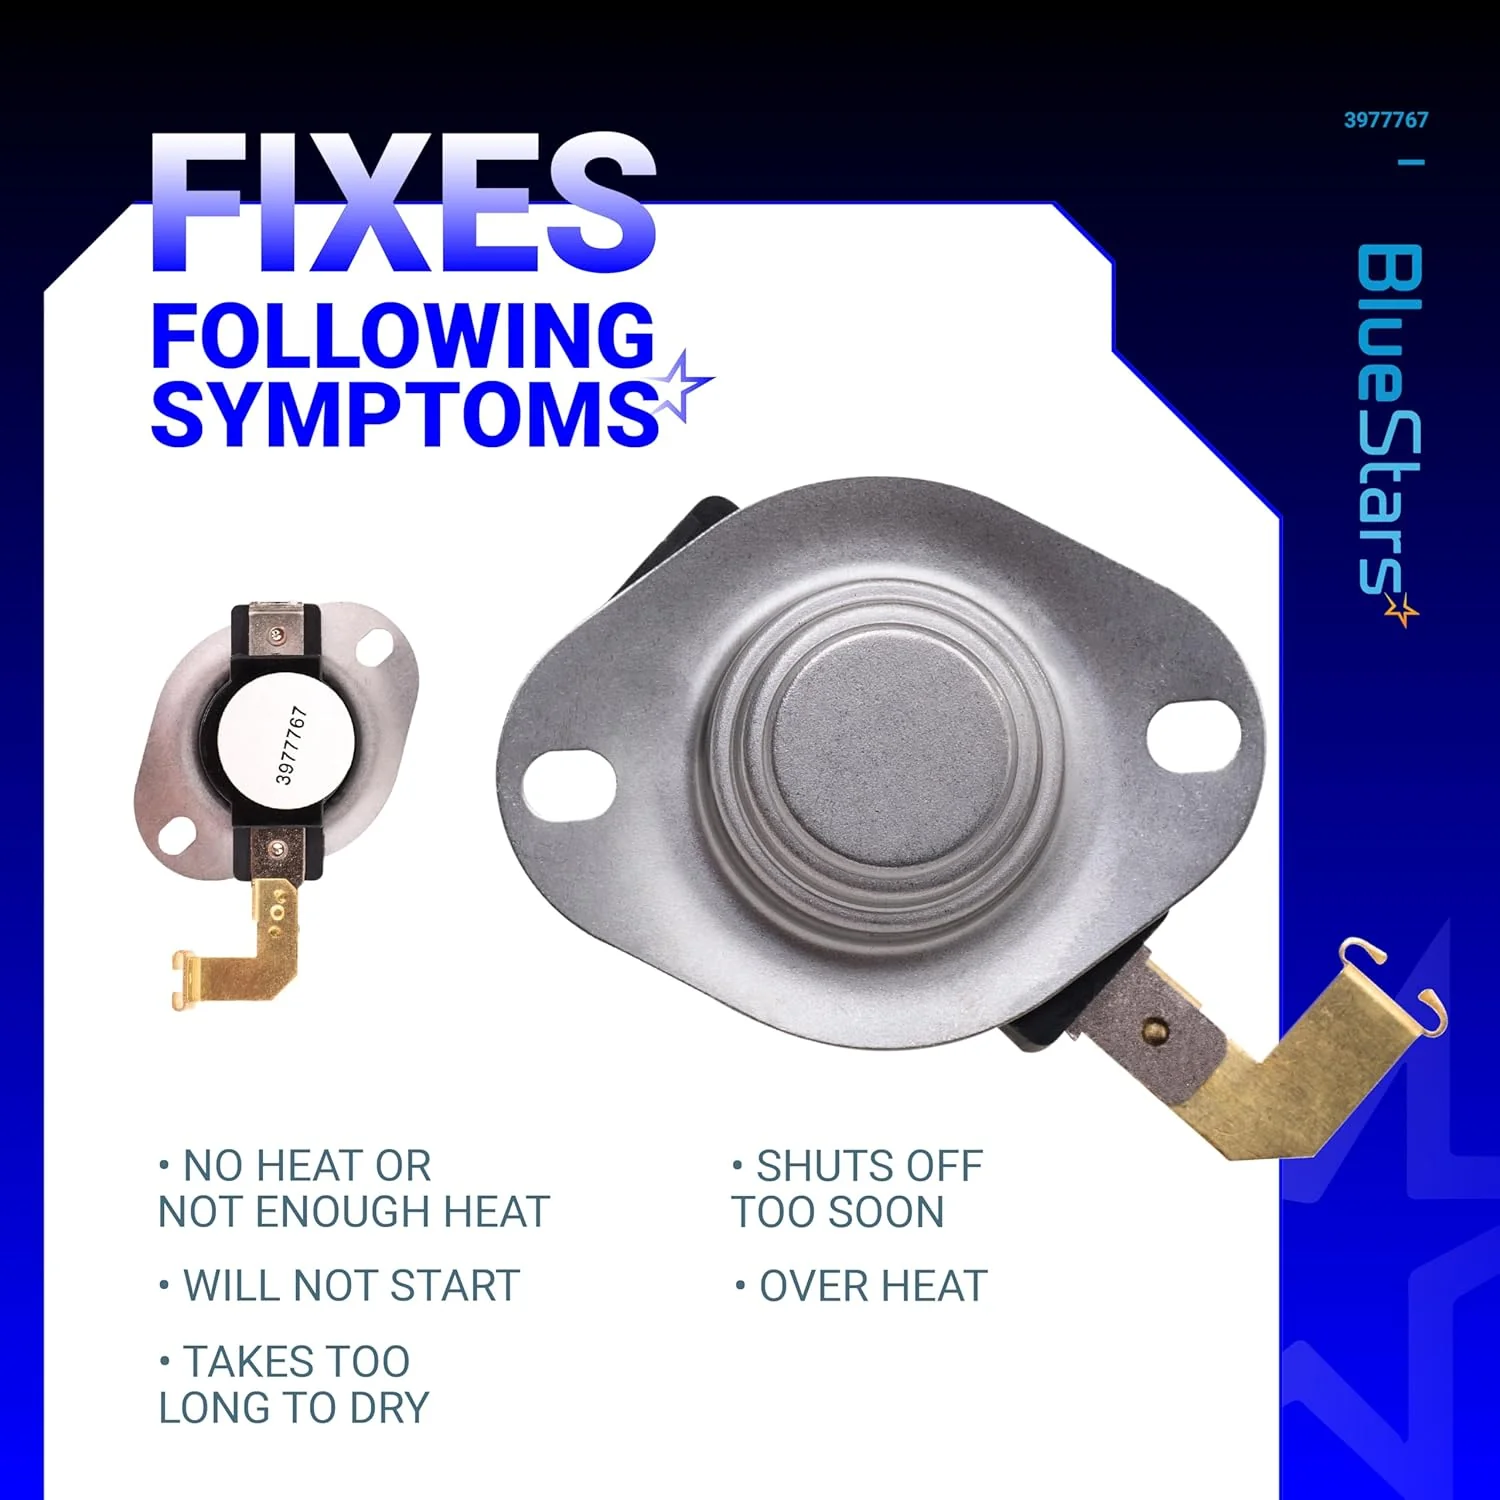
- Dishwasher does not heat water
- Heating element remains on, causing overheating
- Dishwasher stops mid-cycle
- Unit fails to start
Installation Tips
- Disconnect the dishwasher from power and water sources before beginning installation.
- The dishwasher may need to be removed from its cabinet for access.
- Insert the new thermostat into its mounting bracket.
- Ensure the isolator is correctly aligned.
- Connect the wires to the terminals on the new component.
$20.40
661566 Dishwasher High Limit Thermostat for Whirlpool Kenmore KitchenAid Amana Maytag Dishwashers - 2 Pack—
$20.40
Product Information
Product Information
Shipping & Returns
Shipping & Returns
Description
661566 Dishwasher High Limit Thermostat
Key Features
- Monitors dishwasher water temperature
- Functions as a safety mechanism to prevent overheating
- Disconnects power to the heating element if temperatures exceed a set limit
Replaces / Cross-Reference Part Numbers
- WP661566
- AP6010246
- PS11743423
- 3369777
- 3370783
- 3371618
- 4171694
- W10339474
- WP661566VP
- EAP11743423
Compatibility & Fitment
- Direct replacement for various models from brands including:
- Amana
- Crosley
- Estate
- Kenmore
- KitchenAid
- Maytag
- Whirlpool
When to Replace
- Dishwasher does not heat water
- Heating element remains on, causing overheating
- Dishwasher stops mid-cycle
- Unit fails to start
Installation Tips
- Disconnect the dishwasher from power and water sources before beginning installation.
- The dishwasher may need to be removed from its cabinet for access.
- Insert the new thermostat into its mounting bracket.
- Ensure the isolator is correctly aligned.
- Connect the wires to the terminals on the new component.